UCLA is committed to web accessibility for everyone. Many of the changes to the UCLA Brand Guidelines introduced in 2018 are based on compliance with the Americans with Disabilities Act (1990). The University of California has systemwide policies in support of electronic accessibility that we must comply with when sharing videos and photos on social media:
University of California Electronic Accessibility
For more information please visit the Accessibility section of Brand Guidelines.
Captions
To meet ADA guidelines, university videos are required to have some form of captioning available for viewers. There are two options for captioning: open and closed. Open captions are always in view and cannot be turned off, whereas closed captions can be turned on and off by the viewer. When deciding on a method of captioning, consider your marketing goals, as well as the platform and context. Below are platform-specific best practices as well as instructions for creating captions in Adobe Premiere.
YouTube, Facebook, and Vimeo
YouTube, Facebook and Vimeo support closed captioning, so open captioning is not necessary. However, remember to edit the closed caption file before publishing and promoting your video. Auto-generated caption files often contain misspellings and errors. In fact, auto-generated caption files supplied by YouTube and others are not considered viable according to the Department of Justice for compliance with ADA.
You may upload your video to YouTube, correct your captions within the platform, and download an .SRT file. When uploading the same video to Facebook, upload the .SRT file to easily correct captions and avoid duplicate effort. Facebook auto-plays all videos with the sound turned off, so open captioning is a best practice for higher post engagement.
Twitter, Instagram, and LinkedIn
Twitter, Instagram, and LinkedIn do not support closed captioning, so open captioning is required for ADA compliance.
Adding Open Captions in Adobe Premiere
Follow these steps to create open captions in Adobe Premiere. Remember to create your video with captions in mind to prevent the captions overlapping your video’s text and graphics.
Note: These instructions assume a basic knowledge of the Adobe Premiere software.
- 1. Add a caption layer
- 2. Select open captions
- 3. Select Helvetica regular font
- 4. Select font size 36
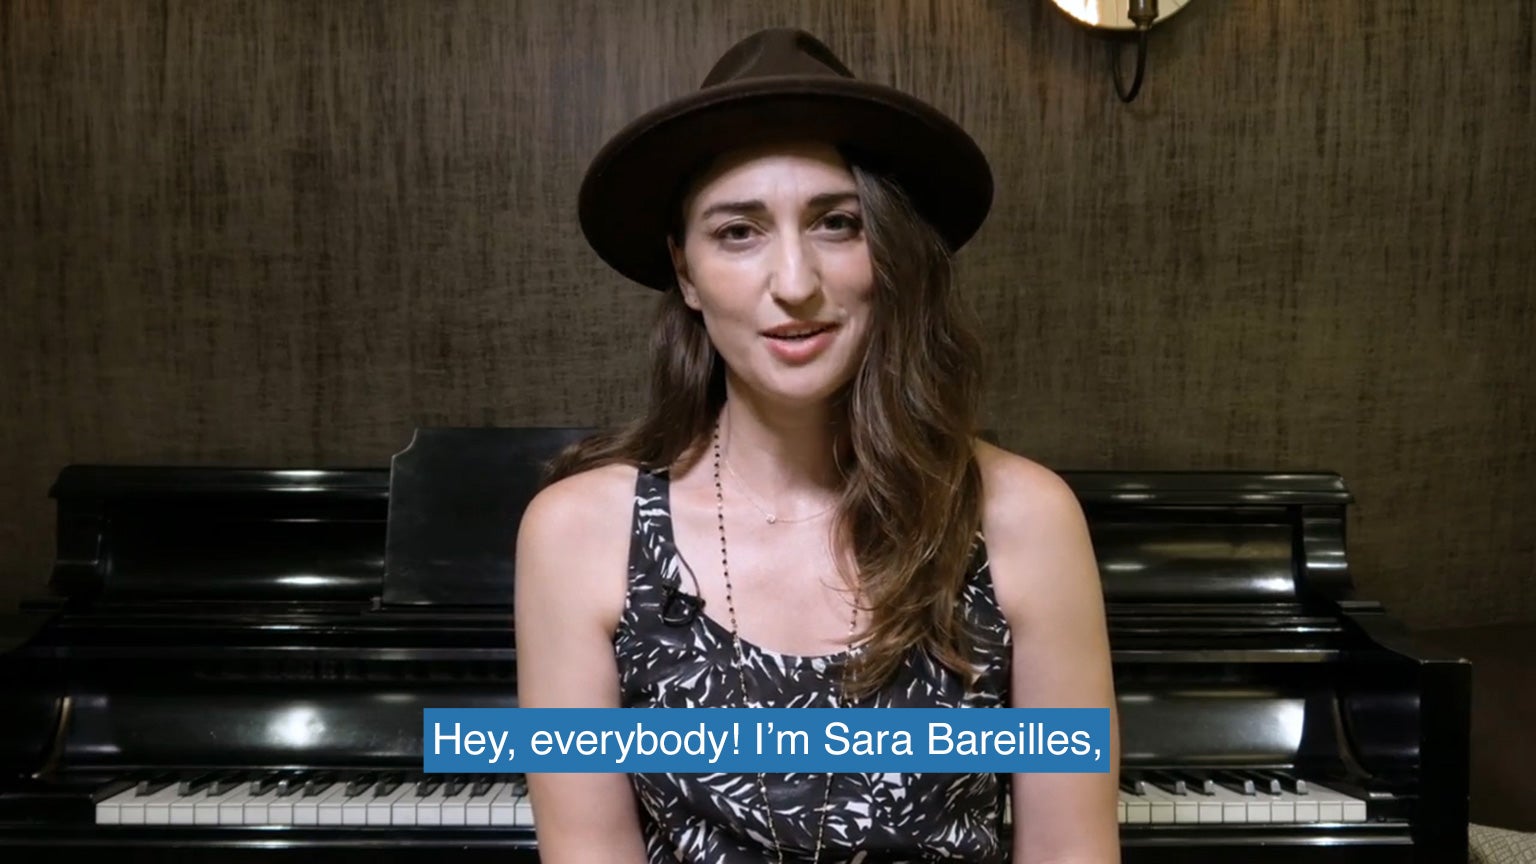
- 5. Select background color: UCLA Blue
RGB: 39 116 174
Hex #2774AE
- 6. Set font color to white
- 7. Write captions
- 8. Position caption block in the center
- 9. Set vertical position to 90%